Mac instructions
These instructions are from Qualitative Data Analysis with ATLAS.ti (Third Edition), Chapter 8: Compiling the Final Report: The Last Phase of the Writing Process, copyright © Susanne Friese 2019.
These instructions are for version 8.3 of ATLAS.ti with the MacOS operating system.
- If you work with the provided coded version of the sample project, open the Memo Manager and select the memo for RQ1.
- Click on the REPORT button and select EXPORT AS REPORT.
- As options for the report select ‘Content’. This is the content of the memo.
- Next select ‘Linked Quotations’ and ‘Content’. You see a preview on the right-hand side as shown in Figure 8.1.
- Click SAVE to save the report in RTF format. Click PRINT if you either want to print it or save it as PDF file.
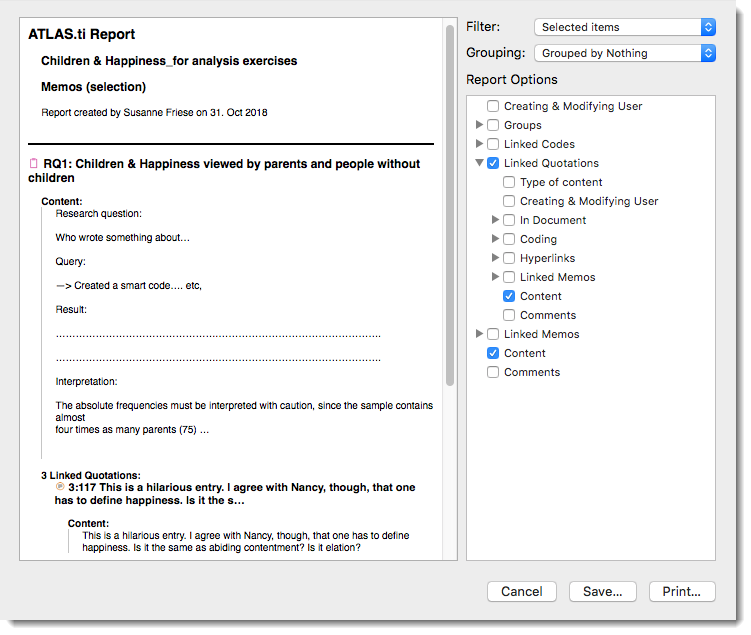
Figure 8.1 Preparing memo output
The memo output includes all the information you need as input for your report. It also adds transparency to your analysis. If someone who reads your report asks how you derived your results, you can show your research question memos. If necessary, you can rerun the query. All linked quotations are listed below the memo content and include meta information like ID, document name and start and end position. While turning your thoughts and ideas into a more formal writing style for your report, you can select supporting quotations and insert them where fitting.
To export the list of codes as you see them in Code Manager:
- Open the Code Manager and click on the export button. Select EXPORT AS SPREADSHEET.
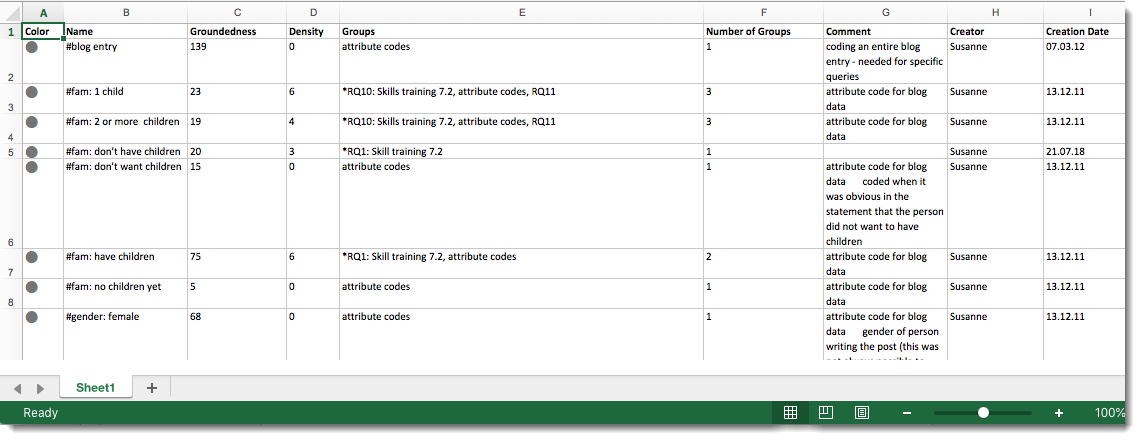
Figure 8.2 Exporting a code book
The table may contain information that you do not want or need like the creation date. Delete those columns.
To export the coded document as you see it on your screen:
- Load the document that you want to export.
- From the main menu select PROJECT / PRINT.
- If you click on Show Details, you have some options, such as printing in portrait or landscape format. You can also zoom the document and scale the margin area to make it narrower or wider depending on how many codings you have (Figure 8.3).
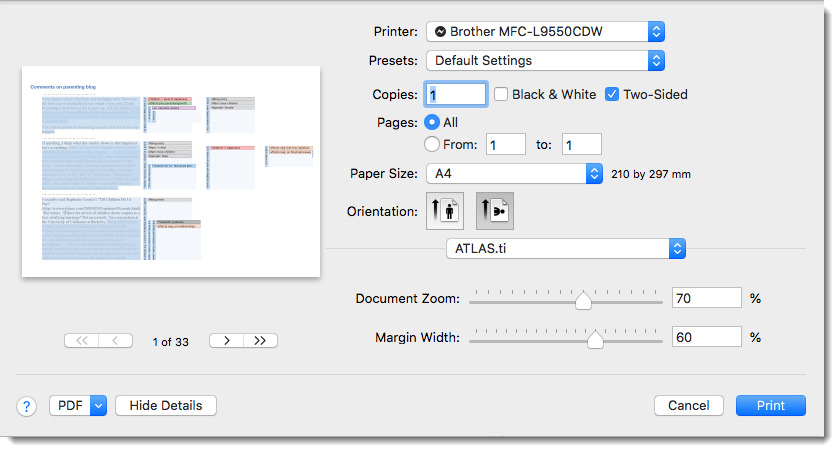
Figure 8.3 Print document with margin